Overview of content creation
To create a great looking visual novel you obviously need to know how to import your own graphics and art into Novelty. While it can be as easy as importing a JPEG-file, Novelty has a very flexible content creation system that lets you create smarter assets with the added benefit of being easily shared with friends.
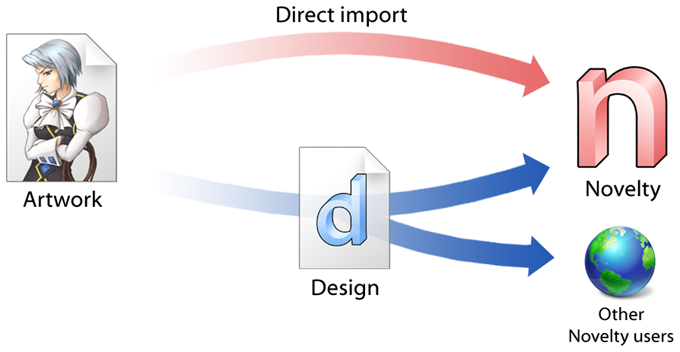
Fig 1: Content creation chart
Step 1: Creating art
Novelty does not come with any tools for creating new art. Artists may use the same tools they normally use, such as Photoshop or openCanvas. Novelty supports a wide range of graphics formats, including the standard ones you would expect.
Step 2: Design
In Novelty, you have the ability to fully customize the look and behavior of your assets. You can compose multiple assets into one and create various resources. All of this is done with a markup language called NoveltyML. To make it easier for you to design objects using NoveltyML there is a separate tool called the NoveltyML Designer. It is an advanced text-editor tailored for writing NoveltyML, but it also has a code-less design mode for those of you whom are uncomfortable with code.
Related articles: Using the NoveltyML Designer
Step 3: Distribute
Once an asset has been designed and loaded into Novelty, you no longer have to worry about file names or making sure that all of your artwork was included with the finished stand-alone game. All of this is taken care of automatically. Assets can be used and reused as many times as you like.